Last Updated on August 12, 2023 by Tim Wells
In this article, I will go through each of the settings you can change in the IPVanish VPN app. All screenshots are taken from my NVIDIA Shield TV Pro, running the Android TV version of IPVanish.
If you’re familiar with IPVanish on other devices, you may see some settings you’re unfamiliar with. Similarly, you may not be able to find some settings that you would on other devices.
I will give you an overview of what that setting means for each item and my recommendation.
Best IPVanish Settings: Android Startup
The first section of settings determines what happens when you boot up your Android TV device or start the IPVanish app.
These two settings are related, so we’re going to discuss them at the same time.
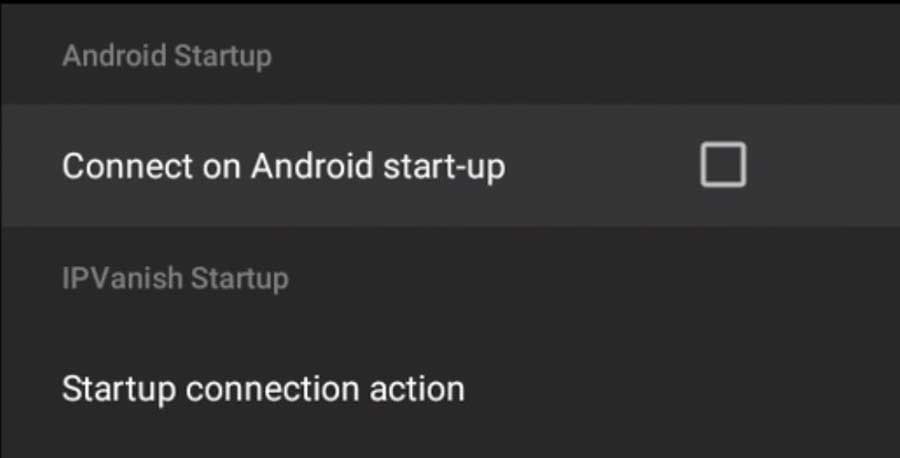
Check the first box, and IPVanish will quietly load in the background immediately after booting up.
However, this won’t connect to a VPN unless you choose a Startup connection action.
I found this to be a little confusing. I even restarted my NVIDIA Shield TV a few times to ensure I wasn’t doing anything wrong.
Clicking on the Startup Connection Action setting will take you to this menu:
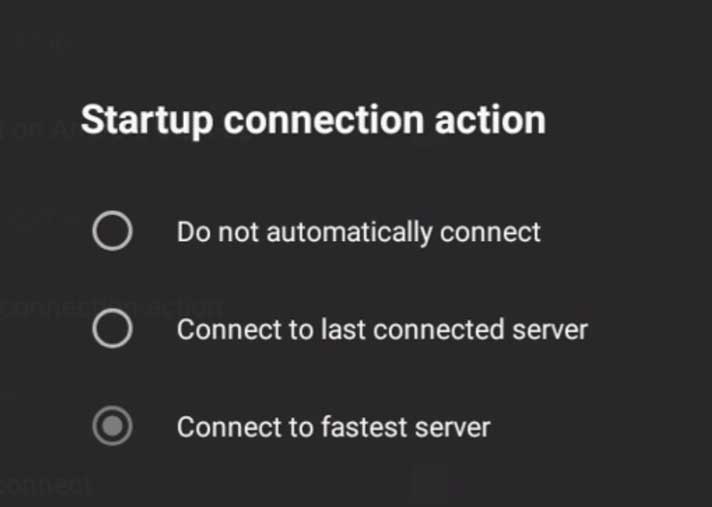
By default, this is set to Do Not Automatically Connect. You can choose to connect automatically to the fastest available server or the last server you used in your previous session.
Recommended Setting: I don’t always need to use a VPN, so I leave the Connect on Android start-up box unchecked.
Recommended Setting: When I open IPVanish, I want the fastest possible connection, so I leave this set to Connect to the fastest server.
Best IPVanish Settings: Connection
The rest of the IPVanish Android TV app settings fall in the Connection section.
Here we can configure some basic settings like whether we want traffic to our local network to go through the VPN.
We will also find more detailed settings like which protocol and port the VPN will use to connect.
Auto Reconnect
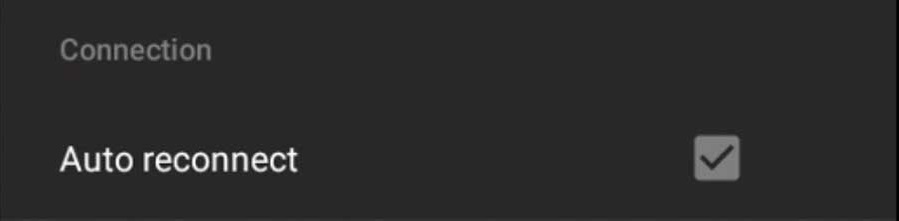
No network connection is perfect. If your VPN connection suddenly drops, enabling Auto Reconnect will automatically reconnect to the same server you previously connected to.
Often this happens without you even knowing the connection has been broken.
Recommended Setting: Always enable Auto Reconnect.
Allow LAN Access

What makes a VPN secure is that it creates a private tunnel from your device to the other device that you’re talking to. It works similar to a garden hose. There’s a solid connection between the faucet and the end of the hose so that all the water goes directly from one end to the other.
However, because all network traffic is going through that secure hose, seeing anything else on your local network is impossible. For example, if your media library is stored on a network hard drive, your Android TV can’t see it.
That’s where the Allow LAN Access setting comes in.
Checking this box will exclude local traffic from the VPN connection. Any device on your local network can see your Android TV as if it weren’t connected to IPVanish.
Recommended Setting: Check Allow LAN Access if you have a media server on your network or you need to share files to your Android TV device. If not, leave it unchecked.
Split Tunneling
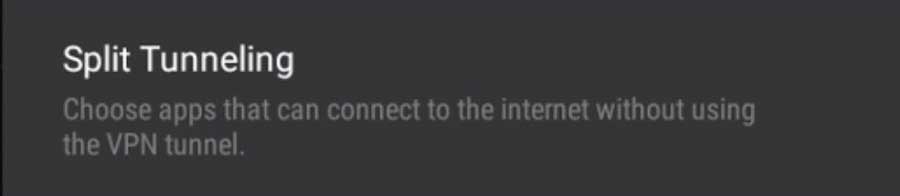
Similarly, you can use Split Tunneling to allow one app to reside outside the VPN connection.
It used to be easy to use a VPN to access content in other countries.
However, some streaming apps, like Netflix or Amazon Prime Video, will kick you off if you try to connect to them using a VPN.
In many cases, they look at the IP address of the VPN server or even what protocol you use to connect. If it matches specific criteria they’ve seen from VPN users, they’ll deny your connection.
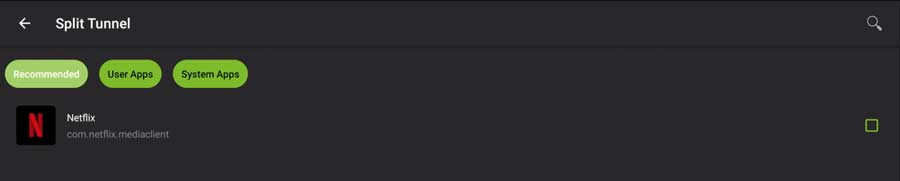
What Split Tunneling does is it processes data packets for one app to bypass the VPN. You have to specify which app; you can only do this for one app at a time.
Still, if you want the protection of using a VPN all the time but are having trouble with certain apps, this is a great workaround.
Recommended Setting: Unless you’re having problems with a specific app not working with a VPN, you can leave this unchecked.
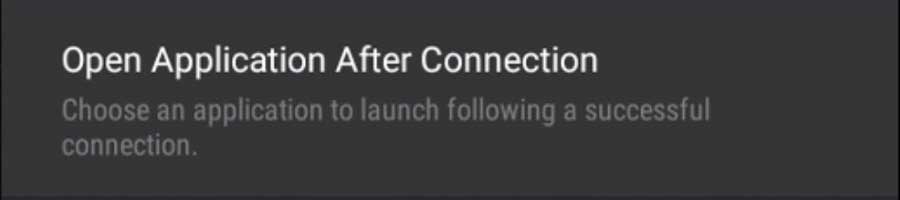
Open Application After Connection
We’ve already discussed how you can have IPVanish start automatically when you boot up your Android TV and have the app automatically connect to a VPN server. You can also have IPVanish open another app immediately after it connects to a VPN.
Many people use Open Application After Connection to automatically connect to a VPN server and open Kodi when they turn on their Android TV.
Once you click on this setting, you’re taken to another screen that lists every app installed on your device. Similar to Split Tunneling, you can only select one app.
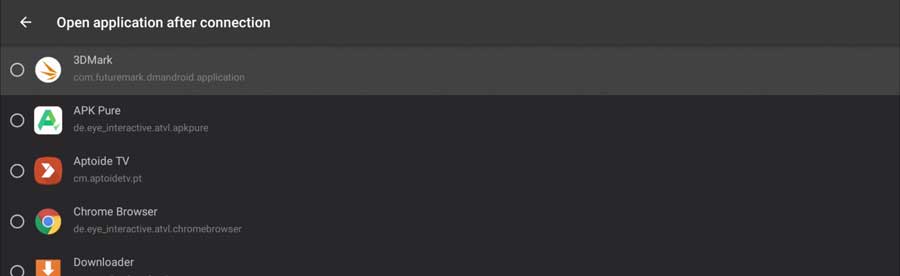
Scroll down until you see the app you want, then click the radio button next to it.
Recommended Setting: This setting is pure convenience. This is a no-brainer if you always go straight from IPVanish to another app (Kodi, for example). If you don’t, then leave this unchecked.
Scramble
Scramble is a setting you can change only if you use the OpenVPN protocol that we’ll discuss in the next Settings section.
Scramble tries to mask your connection to fool servers into thinking that you’re not using a VPN.
This is useful in countries where VPNs are illegal.
Still, it can sometimes help fool apps like Netflix or Amazon Prime Music into thinking you’re not connecting via VPN.

Enabling Scramble can slow down your VPN connection because the VPN server is taking a little extra time to hide your connection.
Even if that delay is only a few milliseconds, it could slow down your video stream.
Recommended Setting: For the fastest VPN connection, leave this unchecked. Only turn Scramble on if you’re having trouble connecting to some streaming services.
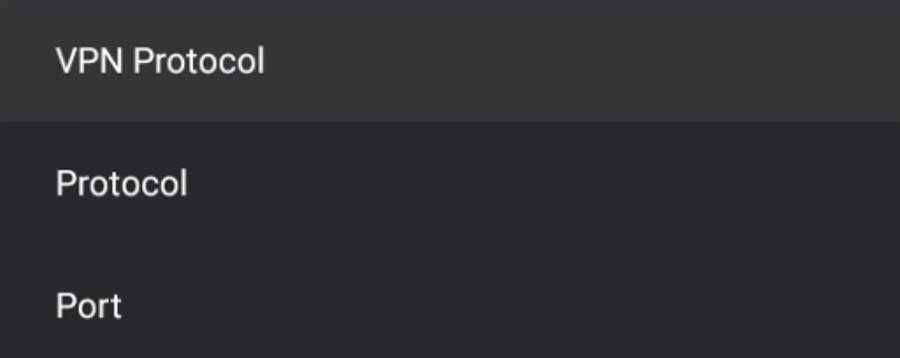
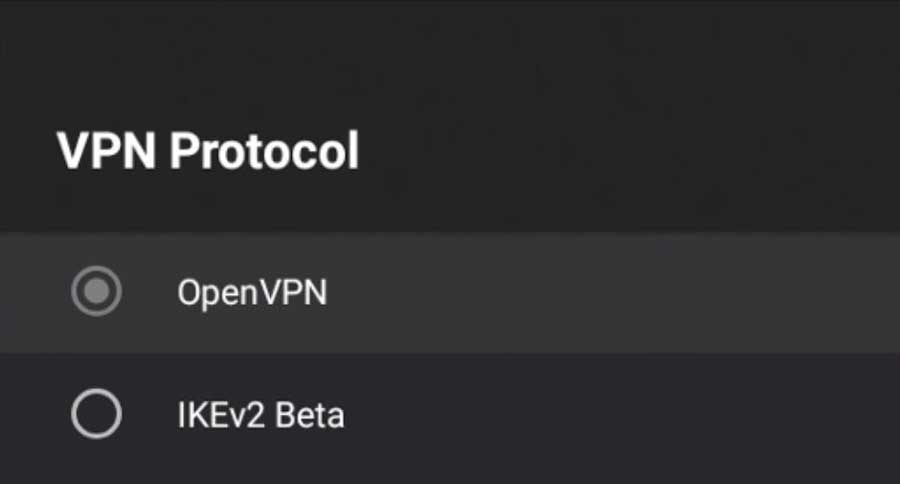
Recommended IPVanish Settings: VPN Protocols
The following three settings all concern how IPVanish connects to different VPN servers and what protocols it uses.
Here you can change to protocol between OpenVPN and IKEv2 Beta.
If you’re using OpenVPN, you can switch between UDP and TCP and even change what port your Android TV uses to connect.
VPN Protocol: OpenVPN vs IKEv2 Beta
IKEv2 Beta (Internet Key Exchange version 2) is part of an authentication suite known as IPSec. As a protocol, it’s incredibly customizable.
However, telling IPVanish to use this protocol removes many of your connection options. (source)
All that customizability comes at a price, however. It’s slower to connect than OpenVPN and more easily countered by software that wants to restrict users from connecting through VPNs.
Recommended Setting: If you care more about privacy than speed, use IKEv2 Beta (IPSec). Use the OpenVPN protocol for any other use case (especially streaming video).
Protocol: TCP vs. UDP
If you choose to use OpenVPN, the following setting you need to look at is the protocol itself. Here you can change between TCP and UDP.
Unlike most other IPVanish settings we’ve discussed, there’s no one correct answer here.

TCP is used much more often than UDP, although overall, it’s a slower connection. The benefit of using TCP is that it has built-in error correction, whereas UDP doesn’t.
If all that sounds too technical for you, you’re not alone. VPNMentor developed a helpful chart summarizing the differences between the TCP and UDP protocols.
| TCP | UDP | |
| Connection | Connection-oriented | Connectionless |
| Sequencing | TCP numbers each packet so they can be arranged in a sequence by the recipient | UDP sends the packets without numbering |
| Speed | Slower | Faster |
| Reliability | High | Low |
| Header size | Packets are heavy because of overheads | Lightweight packets with minimal headers |
| Error detection/correction | Error checking and error recovery | Error checking but no recovery. Corrupted packets are simply discarded and not requested again |
| Acknowledgement | Acknowledgement sent by the recipient | No acknowledgement is sent |
| Transfer method | Stream | Individual packets |
| Congestion control | Yes | No |
| Applications | File transfer, email, web browsing | Video conferencing, gaming, broadcasts |
Recommended Setting: The OpenVPN(UDP) protocol is used for most streaming applications. For web browsing or email, where accuracy is more important than speed, use OpenVPN(TCP).

After a brief hiatus from the industry he's back at the helm of AndroidTVNews.com to bring Android TV and TV boxes to the forefront of the streaming world.
When he's not writing, he spends as much time as he can with his beautiful wife and his bulldog.
- How to set up and use Stremio with Real-Debrid on Android TV [2024] - August 18, 2024
- How to Install Kodi Diggz Xenon Plus & Free99 Build [March 2024] - March 3, 2024
- How to Enable Unknown Sources on Chromecast with Google TV [2025] - October 30, 2023