Last Updated on February 14, 2024 by Tim Wells
Today we’re going to look at the Rising Tides Kodi addon.
I will walk you through what it does, how to install it on Kodi, and some of the most frequently asked questions from Rising Tides users.
Rising Tides is one of the best Sports Kodi add-ons in 2023.
First, let’s briefly overview the Rising Tides addon and what you can expect to see when using it.
Rising Tides Kodi Addon: Overview
The Rising Tides Kodi addon is a sports addon for the Kodi media player. It allows users to stream live sports events and highlights from around the world, including football, basketball, cricket, rugby, and more. It does this by collecting links to live sports streams from various sources, including popular sports websites and streaming platforms.
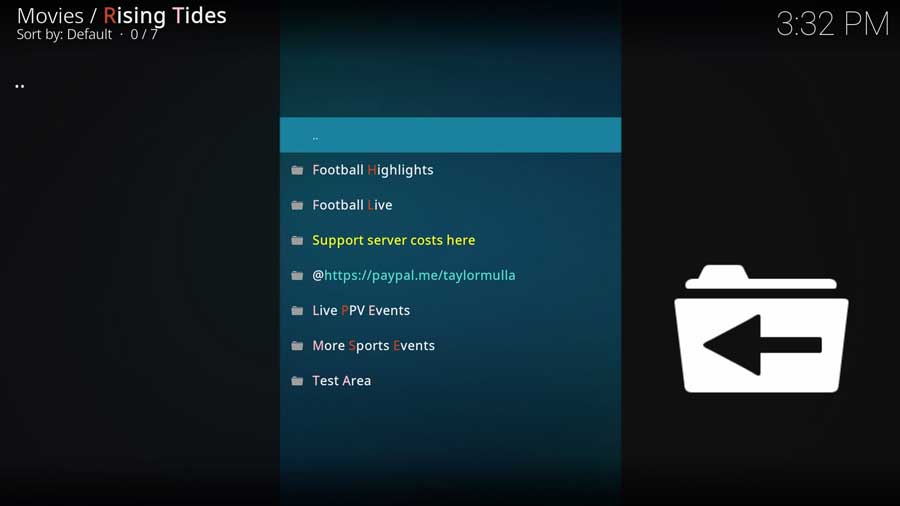
Here are some examples of the types of streams you might find on Rising Tides:
- Football (soccer) matches from various leagues, including the Premier League, La Liga, Serie A, Bundesliga, and more
- American football (NFL) games, including the Super Bowl
- Basketball games from the NBA, EuroLeague, and more
- Rugby matches, including the Six Nations Championship and Rugby World Cup
- Boxing and MMA fights, including UFC events
- Cricket matches, including international tests and one-day games
Because it collects links from various sources, the availability and quality of streams on Rising Tides may vary. Some streams may be unreliable or have lower resolutions. Finally, some streams may violate copyright laws, so take precautions when using any Kodi addon to stream content.
How to Install the Rising Tides Kodi Addon
In this section, I will walk you through installing the Rising Tides addon on your Kodi device.
I’m using a clean installation of Kodi 20 Nexus for this tutorial. There are no other addons or media libraries on this device. That should make it as easy to follow as possible.
What Your ISP isn’t telling you…
Your ISP knows more about you than you think!
Your IP address is your online fingerprint. It logs everything you do online and is visible to your Internet Service Provider, the apps & addons you use, and even the government.
Kodi Builds & Addons offer unlimited free streaming content, but there are risks.
Stream safely with Surfshark.
The Best VPN hides your identity and bypasses geo-blocked content and government surveillance while letting you stream your favorite movies buffer-free.
I’ve tested all the major VPNs on Android TV boxes and recommend Surfshark. It’s the fastest VPN for streaming and gives you access to the most geo-blocked content!
SAVE 81% ON Surfshark!!!
Try it risk-free for 30-days on unlimited devices at the same time.
Step 1: Enable Addons from Unknown Sources
By default, Kodi only includes access to the official Kodi repository.
These are a select few addons vetted and maintained by Team Kodi. They give you access to change the look & feel, add new video sources and backgrounds, and some handy utilities.
However, the most popular Kodi addons come from third-party developers. To install them, you must change a setting that enables addons from unknown sources.
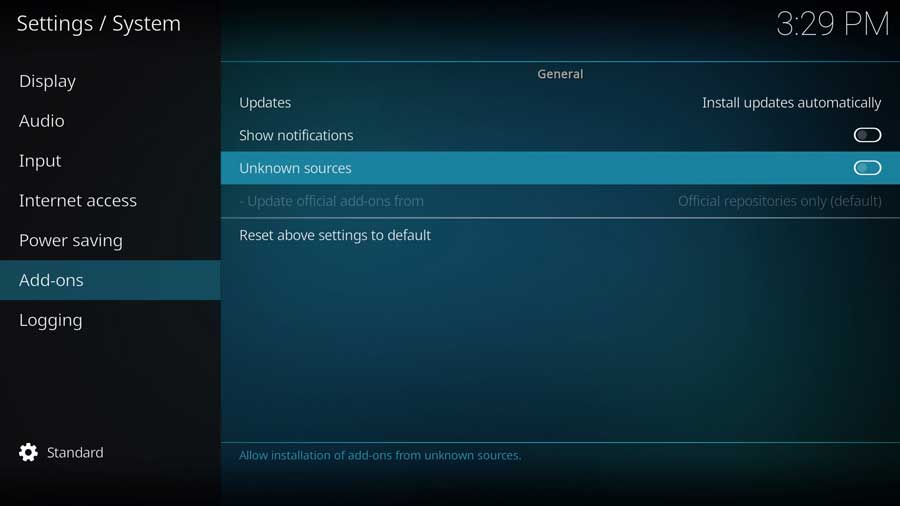
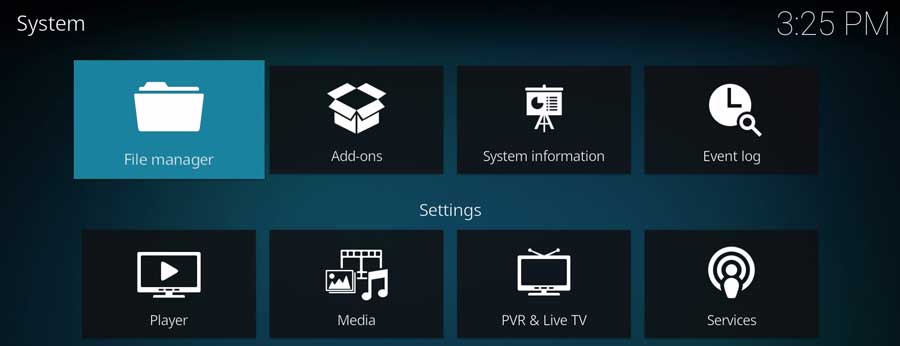
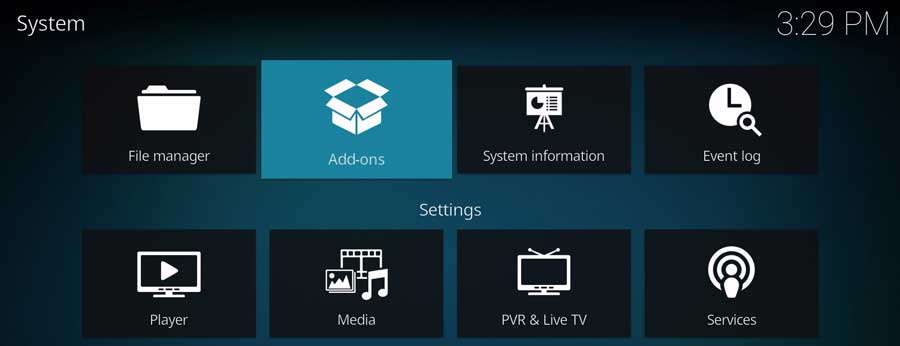
To get started, go to the Settings Menu and click the System icon in the bottom right-hand corner.
Next, scroll down to the Addons section and click on Unknown Sources.
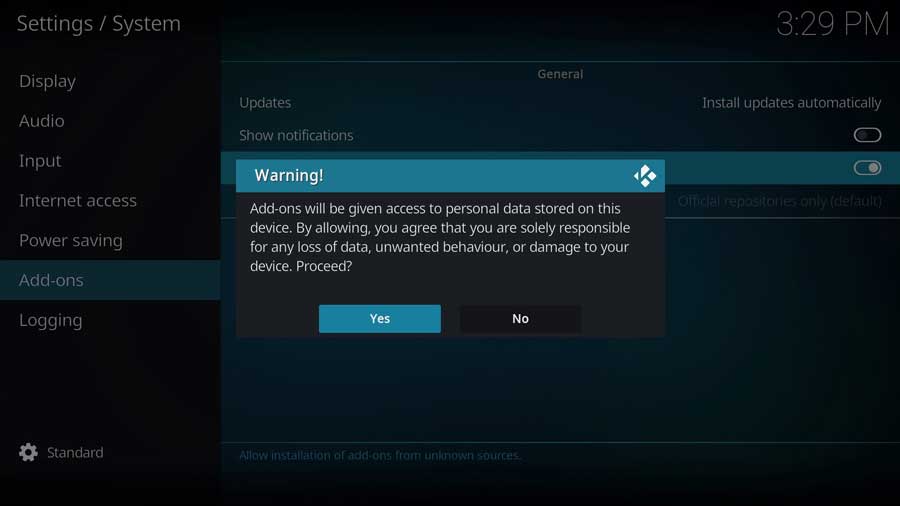
A popup message warns that any addons you install will have the same rights as Kodi. This means they’ll have read\write access to any files on your device.
Use caution if you have any personal files stored on this device.
Click Yes to continue.
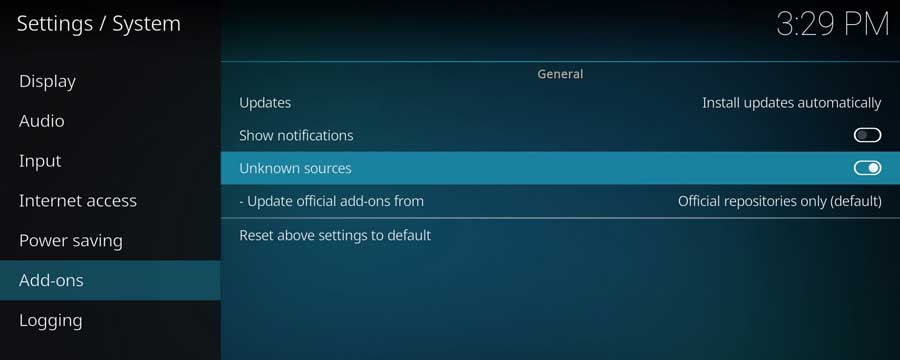
Once you do, the toggle switch turns white to indicate the setting is enabled.
You can now install Rising Tides or any other third-party Kodi addon.
Step 2: Add the Rising Tides File Source
Like most third-party addons, installing Rising Tides is a three-part process.
The first thing on the list is to add a new file source to tell Kodi where to find the repository we need.
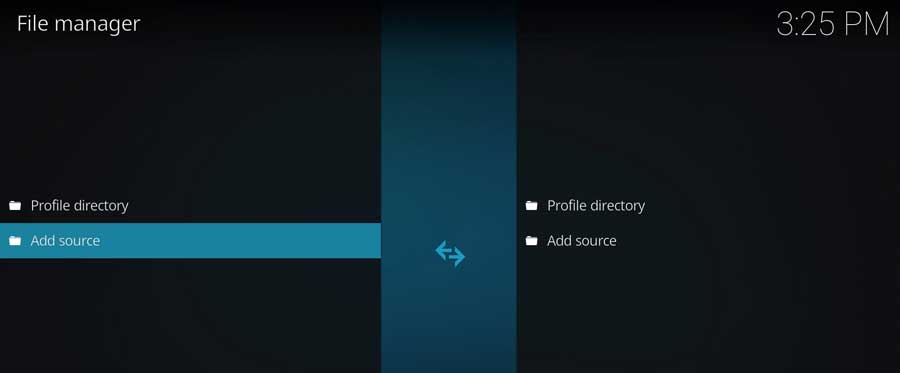
First, go to the Settings/System menu and click the File Manager icon.
This menu will look familiar if you’ve already added directories to your media library. In this case, we’ll be adding the developer’s official website.
Click on Add Source.
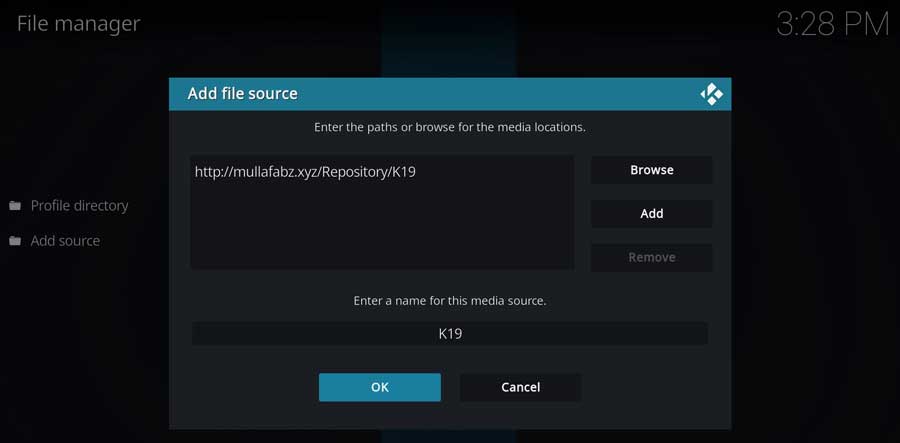
Click on <None> to add a custom source in the Add File Source menu box.
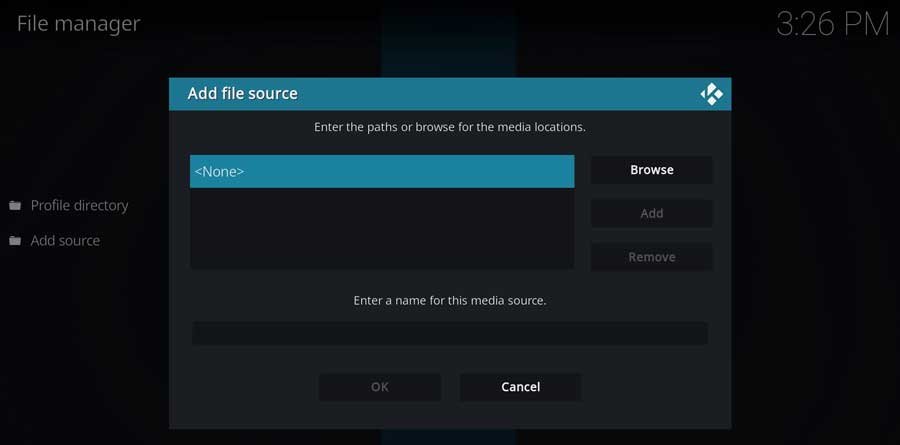
When you add a file source, it can be a local folder on your device, a shared folder on your network, or even an external website.
Type in the following URL and click OK:
http://mullafabz.xyz/Repository/K19
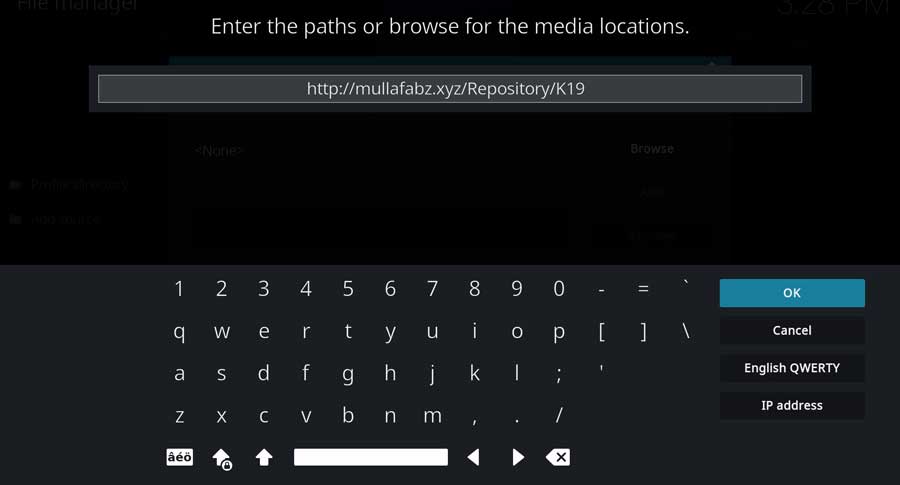
Note: at the time I’m writing this, both the HTTP and HTTPS versions of the URL work. At some point in the future, I expect only the HTTPS version of the URL to work.
Next, we’ll create a name for this media source.
You can name this anything you like, but I recommend making it relevant to the source. In this case, I called mine K19.
Once you’ve entered a name, click OK to continue.
Once you have the file source URL and the name, click OK to continue.
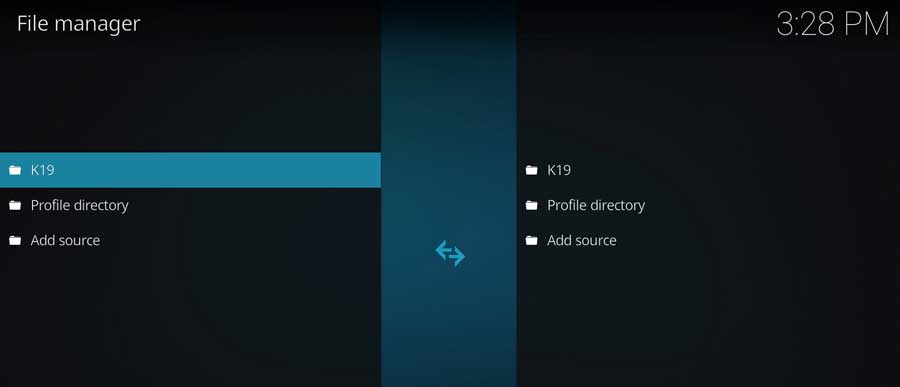
Kodi will do a quick check to make sure that it can reach the site. If it’s successful, it’ll bring you back to the File Manager window.
Your new file source will be listed on the left-hand side of the screen.
Step 3: Install the Rising Tides Repository from Zip File
Next, we will install the K19 repository on our Kodi device.
Return to your Kodi home screen, and scroll down until you find the Addons section.
Then, click the Install from Zip File icon.
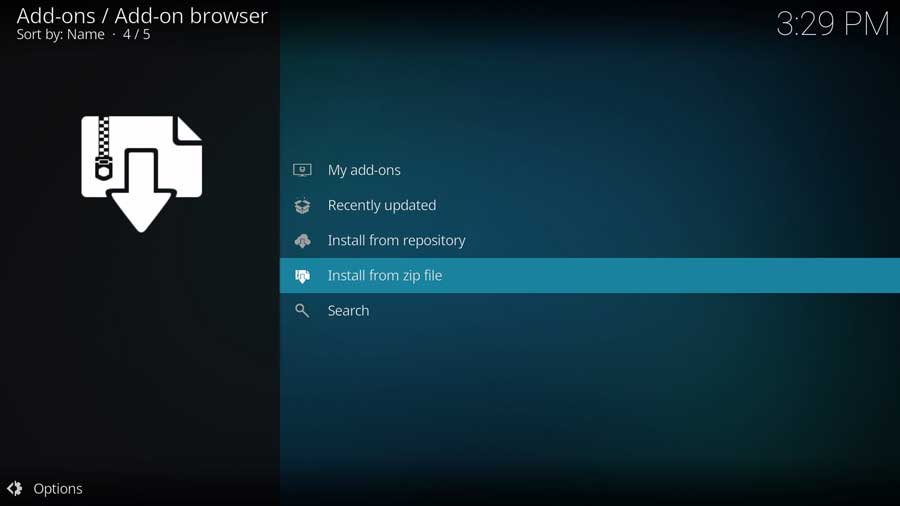
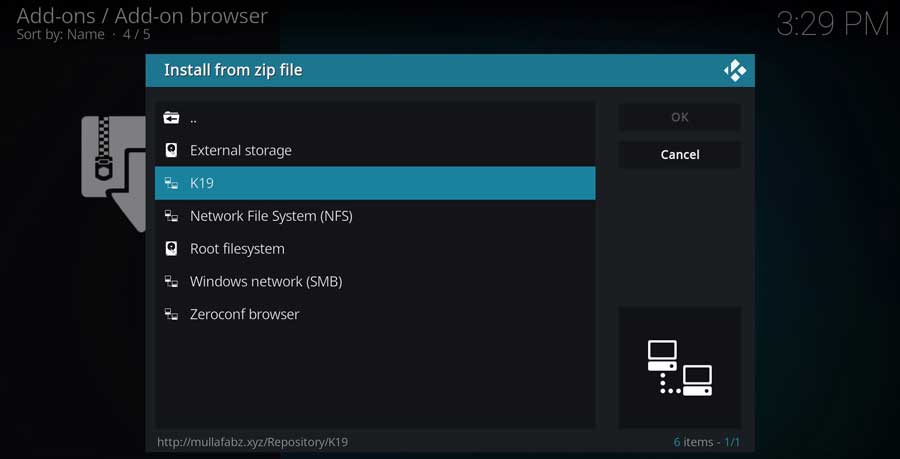
This pulls up a list of all the file locations on your device.
This includes any internal folders, external drives like flash or external hard drives, and any shared network drives you have.
It also shows custom file locations, like the one we just created. Click on the name that you entered in the previous section.
Finally, click on the repository zip file to install it.
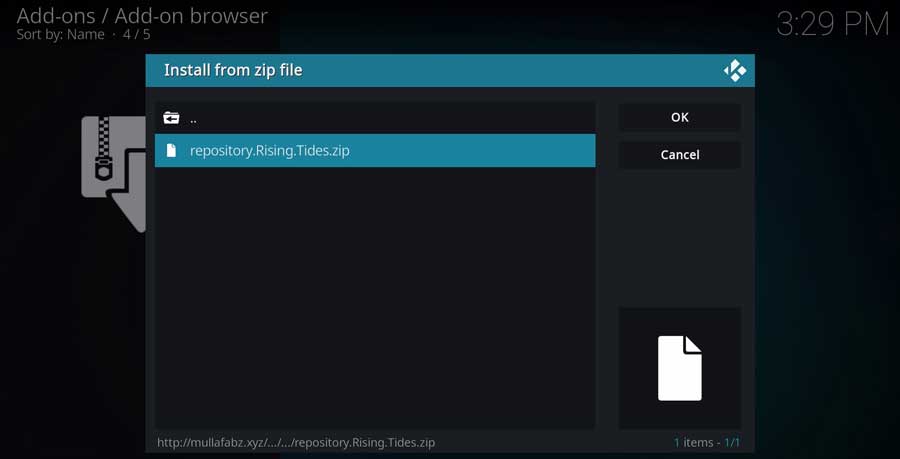
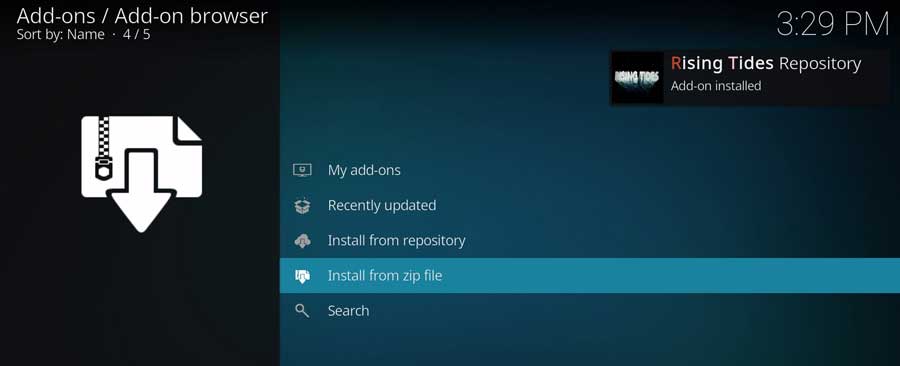
After a few moments, you’ll be taken back to the Addons screen, and a message box will appear saying the Rising Tides Repo is installed.
Step 4: Install the Rising Tides Addon from the Repository
One final step to go. We have to install the Rising Tides Kodi addon from the repository, and then we’re finished!
Click on the Install from Repository icon to continue.
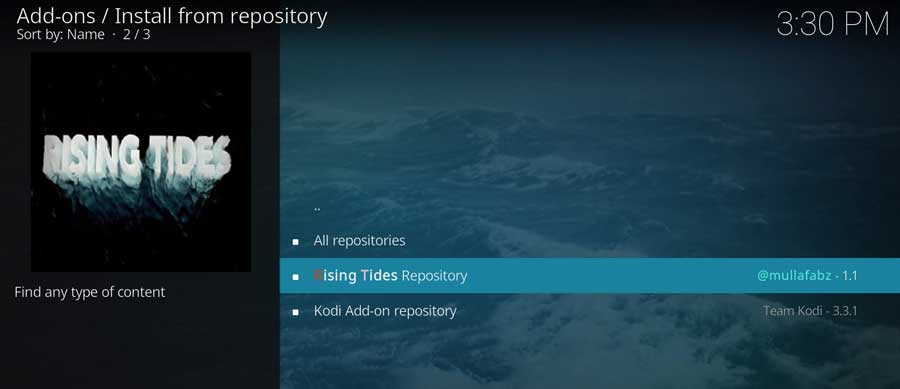
This pulls up a list of all the repositories installed on your device.
Since I’m doing this on a clean installation of Kodi, I only have the official Kodi Addon Repository and the Rising Tides Repo we just installed.
Click on the Rising Tides Repository to continue.
As with many Kodi repositories, there are several addons within this repository.
The one we’re looking for is in the Video Addons section, so click on that now.
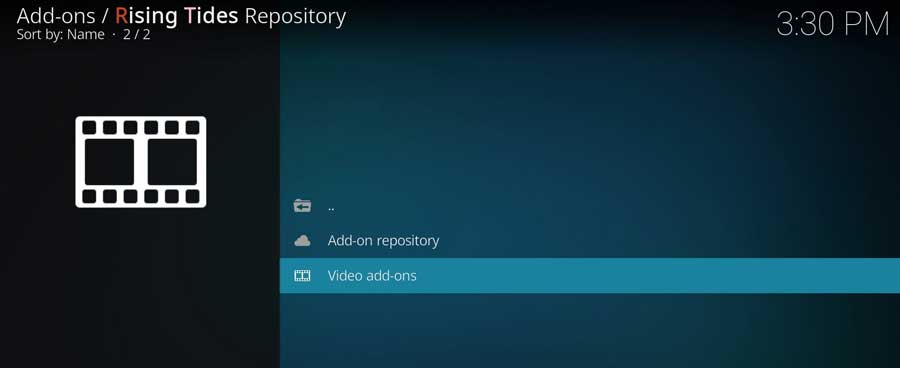
Click on Rising Tides to continue.

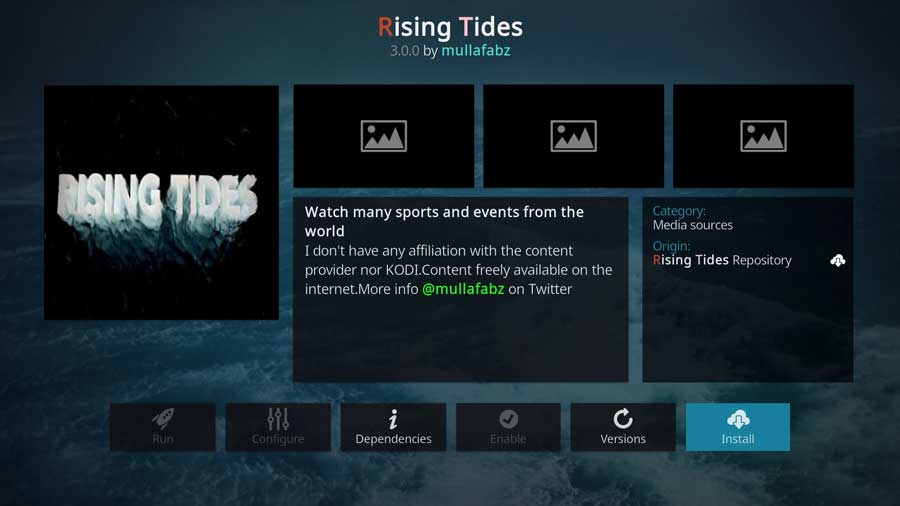
That takes you to the addon’s detail page.
Click Install to continue.
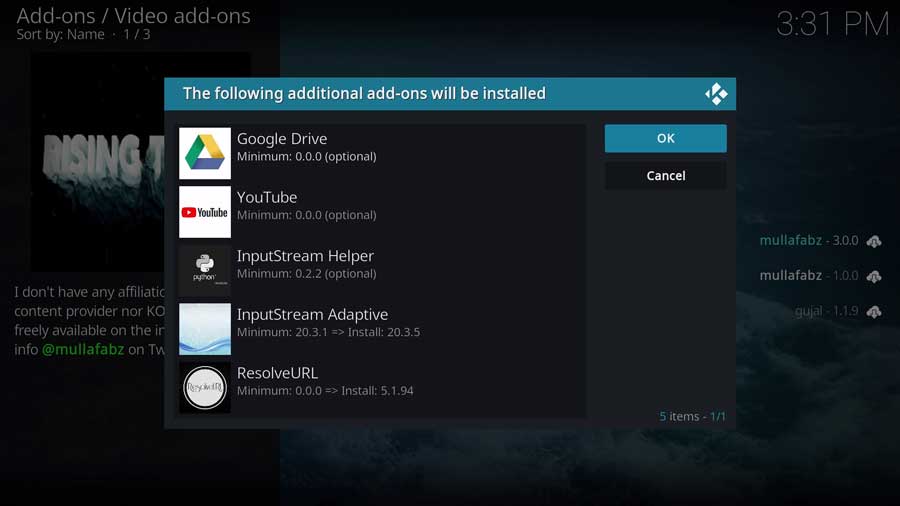
Depending on your system, you may have several additional addons or modules required by the Rising Tides addon.
On my system, I had six different required addons to be installed.
Click OK to continue.
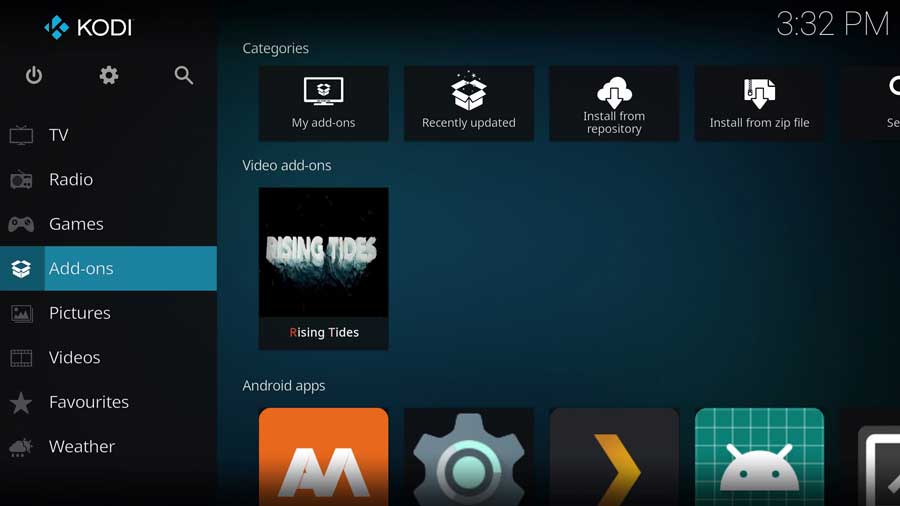
Once the installation finishes, you’ll get a popup message box in the upper right-hand corner telling you the Rising Tides Kodi addon has been installed successfully.
To launch Rising Tides, return to the Addons tab in Kodi, then click on the icon in the center of your screen.
Is the Rising Tides Addon Legal?
Whether the Rising Tides Kodi addon is legal is a bit of a grey area.
Kodi is a legal media player that can play content from various sources. However, some addons may provide access to streams that violate copyright laws.
Accessing copyrighted content without permission is illegal in many countries. Users who stream such content may be at risk of legal consequences.
It is impossible to know whether Rising Tides has obtained legal permission to stream its content.
Do You Need a VPN When Using Kodi?
Using a VPN when using Kodi addons is highly recommended for several reasons.
Firstly, a VPN (Virtual Private Network) encrypts your internet connection and masks your IP address. This helps to protect your privacy and keep your online activities private, which is especially important when using Kodi addons since they may provide access to copyrighted content.
More importantly, a VPN can help bypass geographical restrictions to access content unavailable in your region.
Some Kodi addons may provide access to content only available in certain countries. Using a VPN can help you access this content from anywhere in the world.
Finally, using a VPN can also help to protect your device from potential security threats, such as hacking or malware attacks. By encrypting your internet connection and masking your IP address, a VPN can help to prevent unauthorized access to your device and keep your personal information safe.
Overall, using a VPN is a good practice when using Kodi addons. It protects your privacy, bypasses geographical restrictions, and enhances your device’s security.

After a brief hiatus from the industry he's back at the helm of AndroidTVNews.com to bring Android TV and TV boxes to the forefront of the streaming world.
When he's not writing, he spends as much time as he can with his beautiful wife and his bulldog.
- How to set up and use Stremio with Real-Debrid on Android TV [2024] - August 18, 2024
- How to Install Kodi Diggz Xenon Plus & Free99 Build [March 2024] - March 3, 2024
- How to Enable Unknown Sources on Chromecast with Google TV [2025] - October 30, 2023